
- in Production by Bobby Owsinski
Finding The Best Place In The Room To Record
Where you place the instrument or vocalist in the room can make a big difference in how that instrument ultimately sounds. That said, when you’re recording a group of players at the same time (especially a group that has a loud rhythm section), finding the best-sounding place in the room for each instrument is sometimes secondary to any leakage concerns and player sight lines. With a single player or small ensemble, however, finding the most complementary place in the room for the instrument is crucial. Try these following steps from the 4th edition of my Recording Engineer’s Handbook before you settle on your final room placement:
- Check the sound of the room first. Do this by walking around the perimeter and center of the room while clapping your hands to find a place in the room that has a nice, even reverb decay. If you can hear a “boing” (a funny-sounding repeated ringing overtone that acousticians call “flutter echo”) when you clap, then you’ll also hear some of that sound when you record the instrument, so it’s best to try to find another place in the room where the reflections will sound smoother. If you can’t find a place without a boing, place the instrument where it causes the room to boing the least, and try putting some soft material, such as acoustic panels, carpet padding, or acoustic foam, on one of the side walls to cut down on the reflections. (Check out The Studio Builder’s Handbook for more information on room treatment.)
- Try the area of the room where the ceiling height is the highest. Low ceilings are usually subject to some bad reflections, so the higher it is, the better the room will sound, and the better chance your recording will sound pleasing as well. If the ceiling is vaulted, try placing the instrument in the middle of the vault and then move it as needed.
- Stay out of the corners. The corner normally causes a phenomena known as bass loading, meaning that the low frequencies are reinforced, causing some low notes to boom. This can lead to sympathetic tom ringing and snare buzzing on the drum kit when you’re tracking, as well as a lot of extra low end (although sometimes that can be beneficial).
- Don’t get too close to a wall. The reflections (or absorption if the wall is soft) can change the sound of the instrument, especially if it’s very loud and omnidirectional, like drums or percussion. The middle of the room usually works best.
- Stay away from any glass. Glass will give you a lot of reflections that can change the sound of the instrument. If placement near glass is the only area available, try setting the instrument and mics up at a 45-degree angle to the glass to send the reflections off at a different angle.
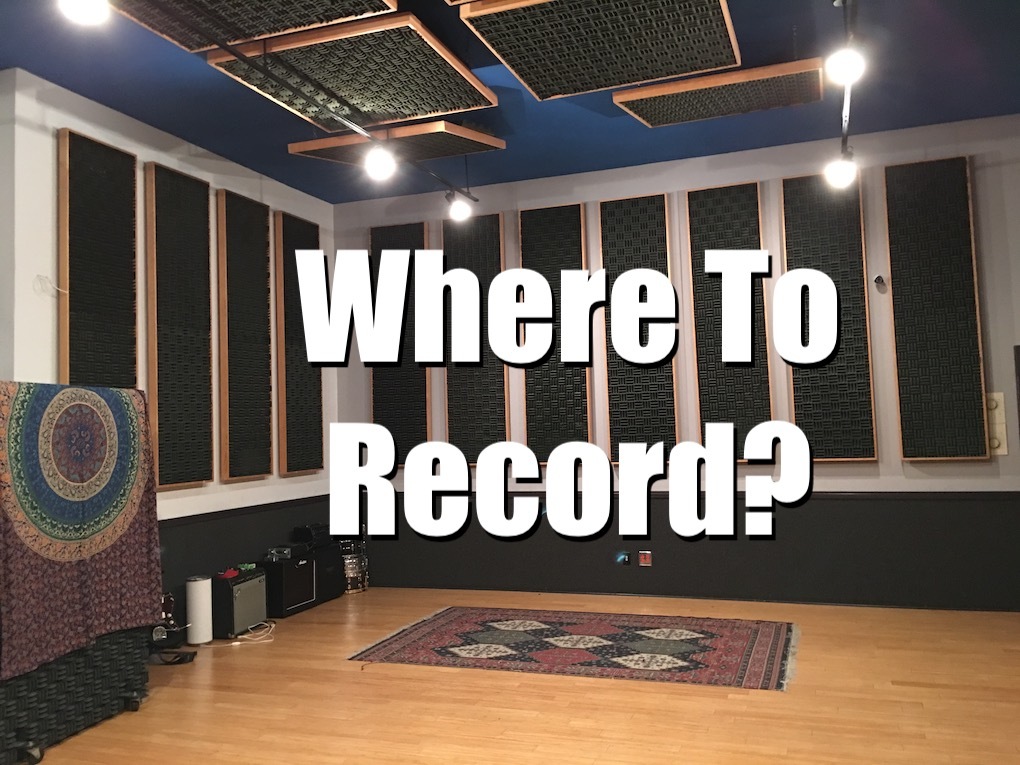
- Try putting a rug under the vocal or instrument. A hard floor can sometimes be detrimental to the sound due to the reflections off of it, and a rug is good at stopping the worst of them from happening. On the other hand, sometimes the reflections from a hard floor can enhance the sound. Try it both ways and choose which works best.
- Try placing an amp or speaker cabinet on a chair or road case. When the amp is lifted off the floor, there are fewer phase cancellations so the sound will be more direct and distinct. Acoustic foam like Auralex placed underneath an amp or cabinet also works.
Finding the best place in the room is essential to the sound of your recording, so it’s important to take a little time to check it out before you start your DAW running.
You can read more from The Recording Engineer’s Handbook and my other books on the excerpt section of bobbyowsinski.com.
