
- in Book Excerpt , Engineering , Production by Bobby Owsinski
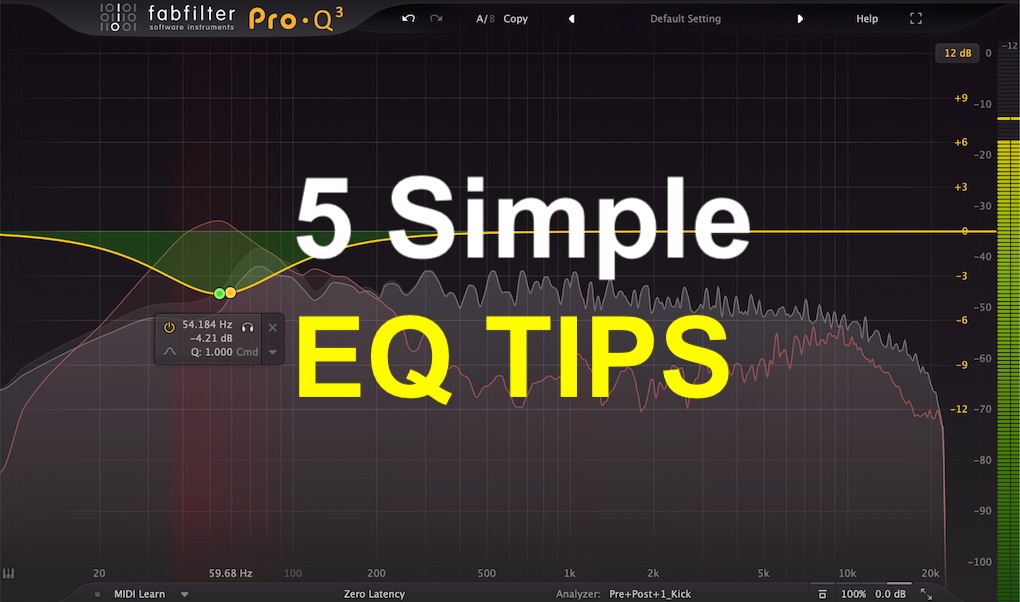
5 Simple EQ Tips That Just About Always Work
Equalization is one of the most difficult parts of recording to get the hang of since there’s literally almost an infinite number of possibilities. Most of us learn by experience and usually massive amounts of trial and error before our ears become trained to recognize EQ problems when we hear them, but there are some very simple general guidelines that can be an enormous help for those new to the process. Here’s a brief excerpt from The Mixing Engineer’s Handbook 5th edition that features 5 simple EQ tips that will work in just about any situation.
Since each specific song, arrangement, instrument, and player is unique, it’s impossible to give anything other than some general guidelines when it comes to equalization methods. That said, there are a number of methods that can quickly and easily get you in the ballpark, as long as you know what you’re going for. Remember that different engineers have different ways of arriving at the same end, so if the following doesn’t work for you, keep trying. The method doesn’t matter, only the end result.
Before these EQ tips are outlined, it’s really important that you observe the following:
- Listen! Open up your ears and listen carefully to all the nuances of the sound. Everything you hear is important.
- Make sure you’re monitoring at a comfortable level—not too loud and not too quiet. If it’s too quiet, you may be fooled by the non-linearity of the speakers and overcompensate. If it’s too loud, certain frequencies may be masked or overemphasized by the non-linearities of the ear itself, and again you will overcompensate.
5 Simple EQ Tips
1. If it sounds muddy, cut (decrease the level) at around 250Hz. Although you can get that muddy sound from other lower frequencies (especially anything added below 100Hz), start here first.
2. If it sounds honky or veiled, cut at around 500Hz. This is where a huge build-up of energy occurs when close-miking instruments because of the proximity effect that naturally occurs with directional mics. Just cutting a bit in this area can sometimes provide instant clarity.
3. Cut if you’re trying to make things sound clearer. If the sound is cloudy or too sharp, there’s usually a frequency band that’s too loud. It’s easier to decrease it than to raise everything else.
4. Boost if you’re trying to make things sound different. Sometimes you don’t want clarity as much as you want something to sound just different or effected. That’s the best time to use boost EQ.
5. You can’t boost something that’s not there in the first place. You may be better off to decrease other frequencies than try to add a huge amount, like 10 or 15dB, to any frequency band.
Although there are exceptions to every one of the above guidelines, you’ll always stay out of sonic trouble if you consider these 5 simple EQ tips first.
You can read more from The Mixing Engineer’s Handbook and my other books on the excerpt section of bobbyowsinski.com.
